

Language:
Español
More info:
FAQ
Bibliography
Peperina team
Other kayaks
Links
Kayakers
Products

|
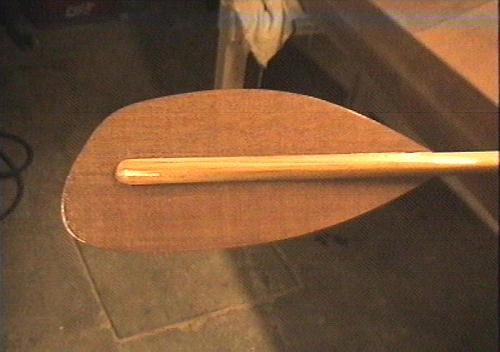
The paddle is another example of improvisation. I couldn't find
construction techniques at the time, only a few commercial data.
Finally I took the mean of what I found and designed this. The area
is about 670 cm2.
|
|
|
|

|
|
|
The offset angle, grounds for lots of discussions, was chosen to be
60 degrees, right hand control.
|
||

|
|
|
|
The paddle shaft was constructed using 3 layers of pinewood (bed spri
material!). The center layer is drilled to reduce the weight.
|
||
|
|

|
|
|
Again, this time showing the new paddle. The layers are virtually
invisible here.
|
||
|
|
|
|
The back side. All improvisation, but I'm satisfied with the results.
|
||
|
|

|
|
|
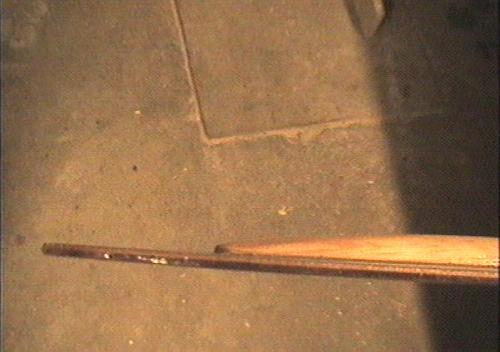
Closeup of the shaft/blade joint.
|
||

|
|
|
|
Another detail of the union, back side.
|
||
|
|
|
|
|
Sideview, showing the final form of the paddle shaft.
|
||
|
|
|
|
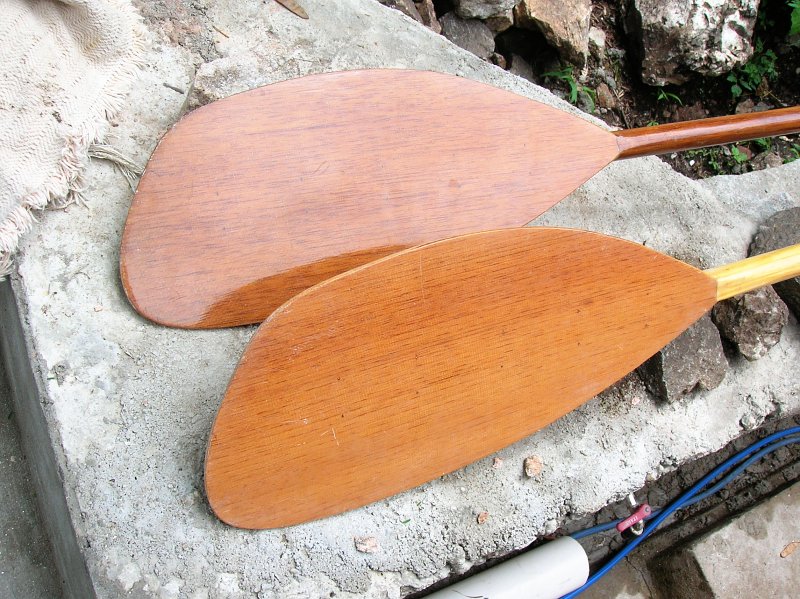
Both paddles compared. The front one is the first version.
|
||
|
|

|
|
|
Again both paddles. They're laying on my actual project: build a wall
in the back of the garden.
|
||

|
|
|
|
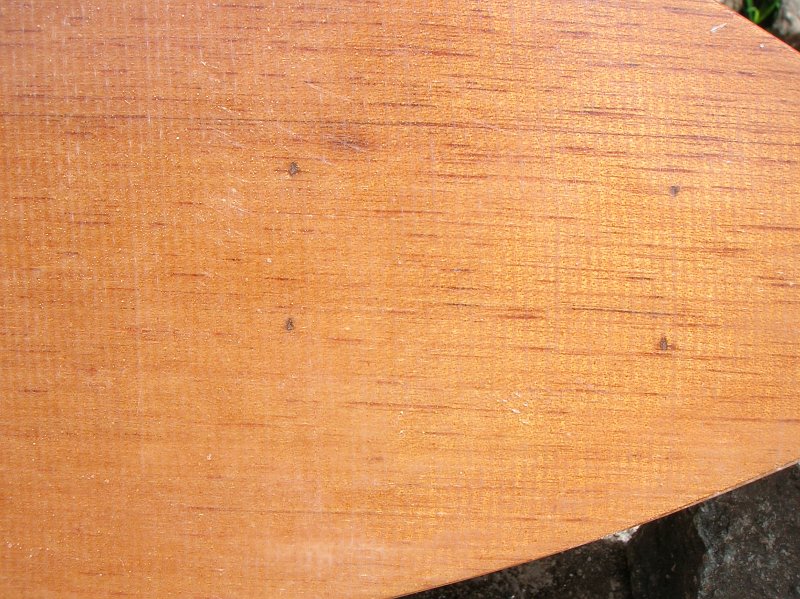
Texture of the glass fiber. The black dot left is the hole from
stitching the paddle.
|
||
|
|

|
|
|
Texture of both paddles compared. Though similar, the top (newer) one
is showing some wear...
|
||
|
|
|
|
A better view of the stitching holes.
|
||
|
|

|
|
|
Here, the slight 'bending' of the paddle is visible.
|
||
Continues with the new version, using strips.
| (c) John Coppens ON6JC/LW3HAZ |